Hi everyone!
Be warned there is no sewing in this post!
This morning has been spent cleaning floors and decluttering junk from everywhere! While it all looked quite good and clean I thought I would take some photos and show you how the tiles look.
I will start with some before photos that are a bit scary!
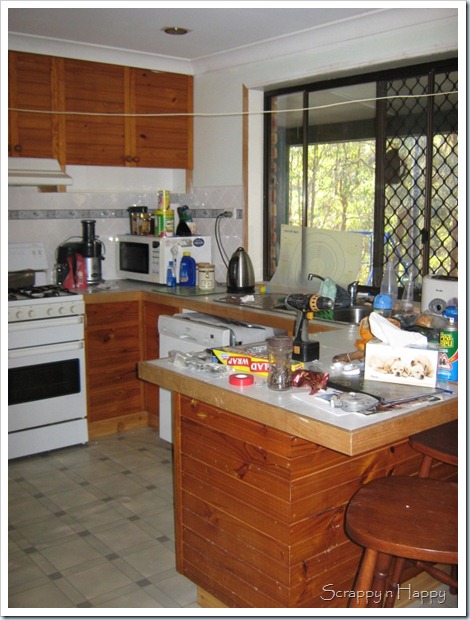
This is the kitchen that was in the house when we moved here….sort of….we had redone the splashback and taken out some cupboards to fit in the dishwasher and put all that junk on the bench before this pic was taken!
Oh and we had redone the ceiling….imagine the timber cupboards on the ceiling - That is what it looked like! Yuck!

Then the kitchen was taken out, we built in the hallway to make a walk in pantry and walls were removed, rebuilt and rearranged!

All this work in the last 2 photos happened in the 2nd half of 2010. So, believe me this did not happen over night!
We moved here in November 2004. The extension for hubbies parents was started in 2007….everyone hoped it would be finished before BW was born in July 2008 but it took longer….I think it was 2009 when their part of the extension was completely finished.
We are still working on finishing our place off. This is what it looks like now!

The kitchen (cabinets were put in November 2010)….just needs a few finishing touches now…painting and tile edges.

This is the lounge and front door, which used to be the dining room. The cathedral ceiling was done as part of the extension and this room was made about 4 metres longer.
A few more finishing touches to do here…the linen cupboard needs doors, walls need painting and skirting boards.

This is the dining room, which used to be the sitting room with the fireplace where the bakers stand is now. Confused?!
You can still see a lot of the old house here – the paintwork and architrave which will all be updated so a bit more work needs to be done at this end of the house.
The doorway into the kitchen is where the stove is in the very first picture…because we built the hallway in to make the pantry the only way to get through to the dining room and bathroom etc is through the kitchen so we have tried to keep it wide and open.
There is still lots to do – inside and outside! The sewing and office area still has a bit of tiling to be done….
Really are renovations ever truly finished? I hope so….but I know it will be a while yet!


 After a week of sorting and throwing stuff out, it was a real sewing mojo killer, this is what it looks like....
 I'm disappointed - it still looks messy! But it is a million dollars on what it was before!
 This is a vintage sewing pattern tin that was my grandmas. Imagine 15 cents for a pattern!
 Excuse the dark photo - I seem to leave taking photos til it is getting dark!
 This is one of the eight (yes 8!) book bags that all those letters are now gracing! They look very cute, I think!
 We are finally doing some serious reno work on our house, it will take a while to get it all done (the list is long!) but I am very excited that we have taken the first step. So every now and then you will see some before and after pics.